
Organize your pantry once and for all with these tips and tricks to keep you well-stocked and ready for mealtime.
The "Organized" Truth


In a world where organization has become a trendy topic, serving as the inspiration for countless books, shows, and social media accounts, let’s get one thing straight: your entryway closet, junk drawer, and pantry do not define you!
There, I said it.
It is so easy to get caught up in the idea that every nook and cranny of our homes needs to be color coded, labeled, simplified, and cookie-cut to fit someone else’s idea of “organized”. I’m here to remind you that the only person you should be organizing for is yourself. Sure, if placing pens in identical jars that have been color coordinated makes you feel a sense of relief, then by all means: please do! Or, if using recycled containers to store wash cloths is more your speed, do you! I believe that however you organize (whatever that looks like for you), it needs to work for YOU.
So...Let's Organize That Pantry!

I want this article to serve as a source of inspiration, as opposed to a rulebook to live by. I have a few steps for us to follow first, and then I’ve rounded up some of the materials I use to organize my own pantry that I’d recommend.
Step 1: Remove Everything
You heard me: everything. I’ll admit, this was uncomfortable for me to do! By pulling everything out of my pantry, it was eye opening to see just how much food (junk?) I’ve been storing in my cupboards.


Step 2: Start Sorting
Go through every single item. Check its date, tossing out any expired items, or making a plan for those that are approaching expiration. Place items in categories: I split mine in to items that I wanted to keep in their packaging, or wouldn’t make sense to transfer to a different container (i.e. jarred or canned items), and items to store differently.
Step 3: How do YOU want to organize?
This is the fun! Stick with me here. When you open your cupboards, how do you want to be inspired? Do you want all your ingredients for Italian cuisine together, like pasta, canned tomatoes, and olives? Or would you prefer everything grouped by type: canned goods, grains, nuts, etc.? You don’t need to stick to one method, but it needs to make sense for you.
Step 4: Clean
No need for harsh cleaners, here. Some warm soapy water or a mixture of water and white vinegar should do the trick
Step 5: Transfer and label (if you like!)
For those items you’ve chosen to be transferred to a different container (here’s looking at you, awkward bag of rice), make sure your containers have been washed and are completely dry. If labels are your vibe, consider using a label maker to call out the contents of your jar . While “Almonds” may not warrant a label, perhaps “Farro” would, or an ingredient you may be unfamiliar with. It also may be helpful to include any special instructions, such as “1:3” for the ingredient to water ratio, too!
Step 6: Add everything back!
Step back, and admire your work. This is ALL YOU!


Items For Organizing Your Pantry
Jars & Contianers
[show_shopthepost_widget id=”4354858″]
[show_shopthepost_widget id=”4354860″]
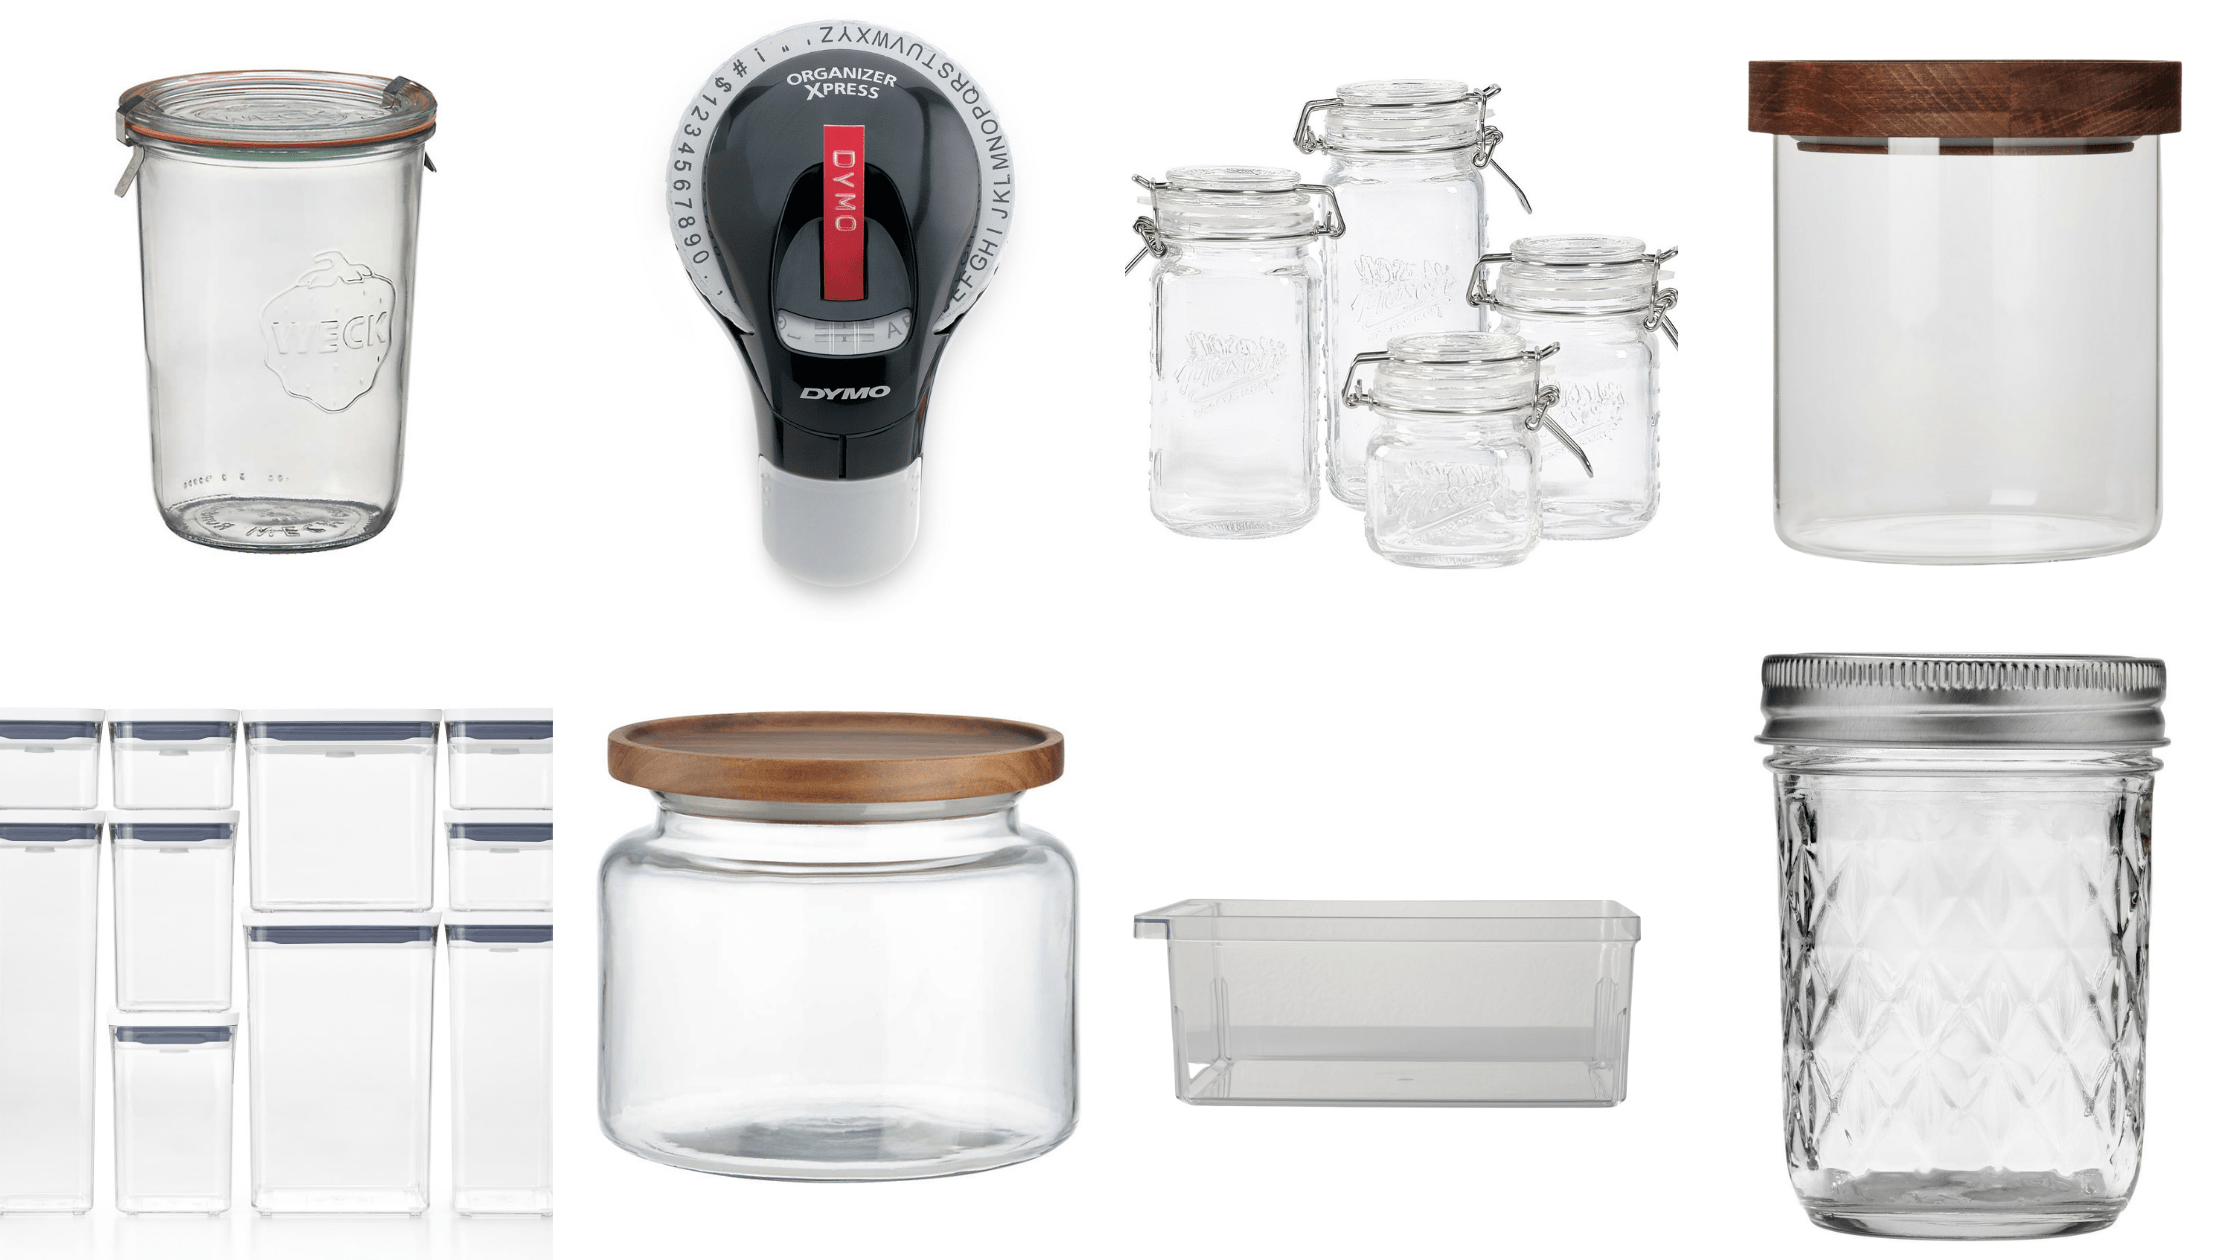
Any jar will do here! Perhaps you have an abundance of canning jars that you have no clue where to store, like me. Use them! Whether it’s grains, dried fruit, nuts, or sweets, I like seeing what I have in my pantry easily. That crumpled up bag not only looks unsightly, but half the time I have no idea what it is until I unravel it. Sound familiar?
These Weck jars are my favorite. I like having a variety of sizes, like these large and small options. I also like using clasped jars like these ones.
Having a variety of lidded mason or canning jars in different sizes is also a great idea. These small quilted mason jars or these smaller clasped jars are great for spices.
I also love using larger lidded jars for items that are bulkier or that I’m likely to have more on hand of. Things like rice, pasta, and flour need a bigger container. Some of my favorite options are here, here, and here.
Pop top containers are another great option. This collection includes a variety of sizes which I love. Any time I’ve purchased just one or two of these containers, I regret it! They’re great for snacks like chips and trail mix, and they keep cereal extra fresh.
Bins
[show_shopthepost_widget id=”4354864″]
Keeping ingredients contained can be helpful if you have deep shelves, or if you’re planning to keep ingredients together in one handy spot. I like keeping all my chocolate chips, shredded coconut, or other baking specific ingredients in one bin so it’s easy to grab.
These clear options are great so you can still see everything, but these options (just $2!)are great too if you’re wanting a more uniform (or discreet!) look.
Labeling
[show_shopthepost_widget id=”4354865″]
I find labels helpful for ingredients in my pantry that may be similar in shape or size, therefore easy to confuse. As mentioned above, it’s also super helpful in particular for grains, where the ratio of grain to water varies depending on which one you’re using. Adding something like, “Farro 1:3” is an easy indication for me to remember that when cooking farro, I’ll need 3 cups of water for every 1 cup of farro.
I recently purchased this label maker and am obsessed with it’s embossing quality. This is another great option if you’d like to keep things simple!
Don’t Forget!
Use what you have. My mom uses cleaned out peanut butter jars in her pantry, and it works great! You’re organizing YOUR pantry: do what makes sense for you.
Stocking Your Pantry
Now that we’ve talked about organizing your pantry…what about WHAT to put in it?
Similar to my guidance above, your pantry needs to make sense for you. The things I keep in may pantry may not align with your style or dietary needs, so keep that in mind! However, I’ve been asked time and time again what I keep in my pantry, and wanted to share my go-to’s that I always have on hand.
- Oils and vinegars: Olive oil (flavored options, too), coconut oil, grapeseed oil, canola oil, sesame oil, red and white wine vinegar, white distilled vinegar, rice vinegar, apple cider vinegar, balsamic vinegar
- Spices: black peppercorns, flaky sea salt, oregano, cumin, garlic powder, basil, thyme, rosemary, cinnamon, nutmeg, ginger, cloves, chili powder, bay leaves, red pepper flakes, smoked paprika, and turmeric
- Broths and Stocks: I opt for organic vegetable, chicken, and beef broths and stocks.
- Flours: Whole wheat, unbleached all-purpose, almond, coconut, bread, and gluten free
- Sweeteners: White sugar, brown sugar, honey, pure maple syrup, powdered sugar, agave nectar, and coconut sugar
- Nuts and Seeds: Almonds, walnuts, cashews, pine nuts, cashews, chia seeds, sunflower nuts, pecans, pepitas, and peanuts. Nut butters are also great to have on hand: almond, cashew, and peanut butters, along with tahini which is made from sesame seeds.
- Dried Fruit: Dried cranberries, cherries, mango, strawberries, figs, and dates
- Pickled & Preserved: olives, artichokes, capers, roasted red peppers, green chiles, jarred salsa, and sun-dried tomatoes
- Whole Grains: Quinoa, brown rice, farro, oats, wild rice, whole wheat pasta, and chickpea pasta
- Beans & Legumes: Black beans, garbanzos, kidney beans, white beans, and split peas
- Baking: Baking powder, baking soda, semisweet chocolate chips, coconut milk, and extracts such as vanilla, almond, and peppermint

Find this article about organizing your pantry helpful? Check out my “So Happy In The Kitchen” page, where I share helpful roundups of products, ingredient and cooking method education, and recipes tips and tricks! You can also shop all of my favorites here.
I’ve linked a few products in this post that are affiliate links. Note that I may receive a small commission.
First three images are from www.thehomeedit.com.